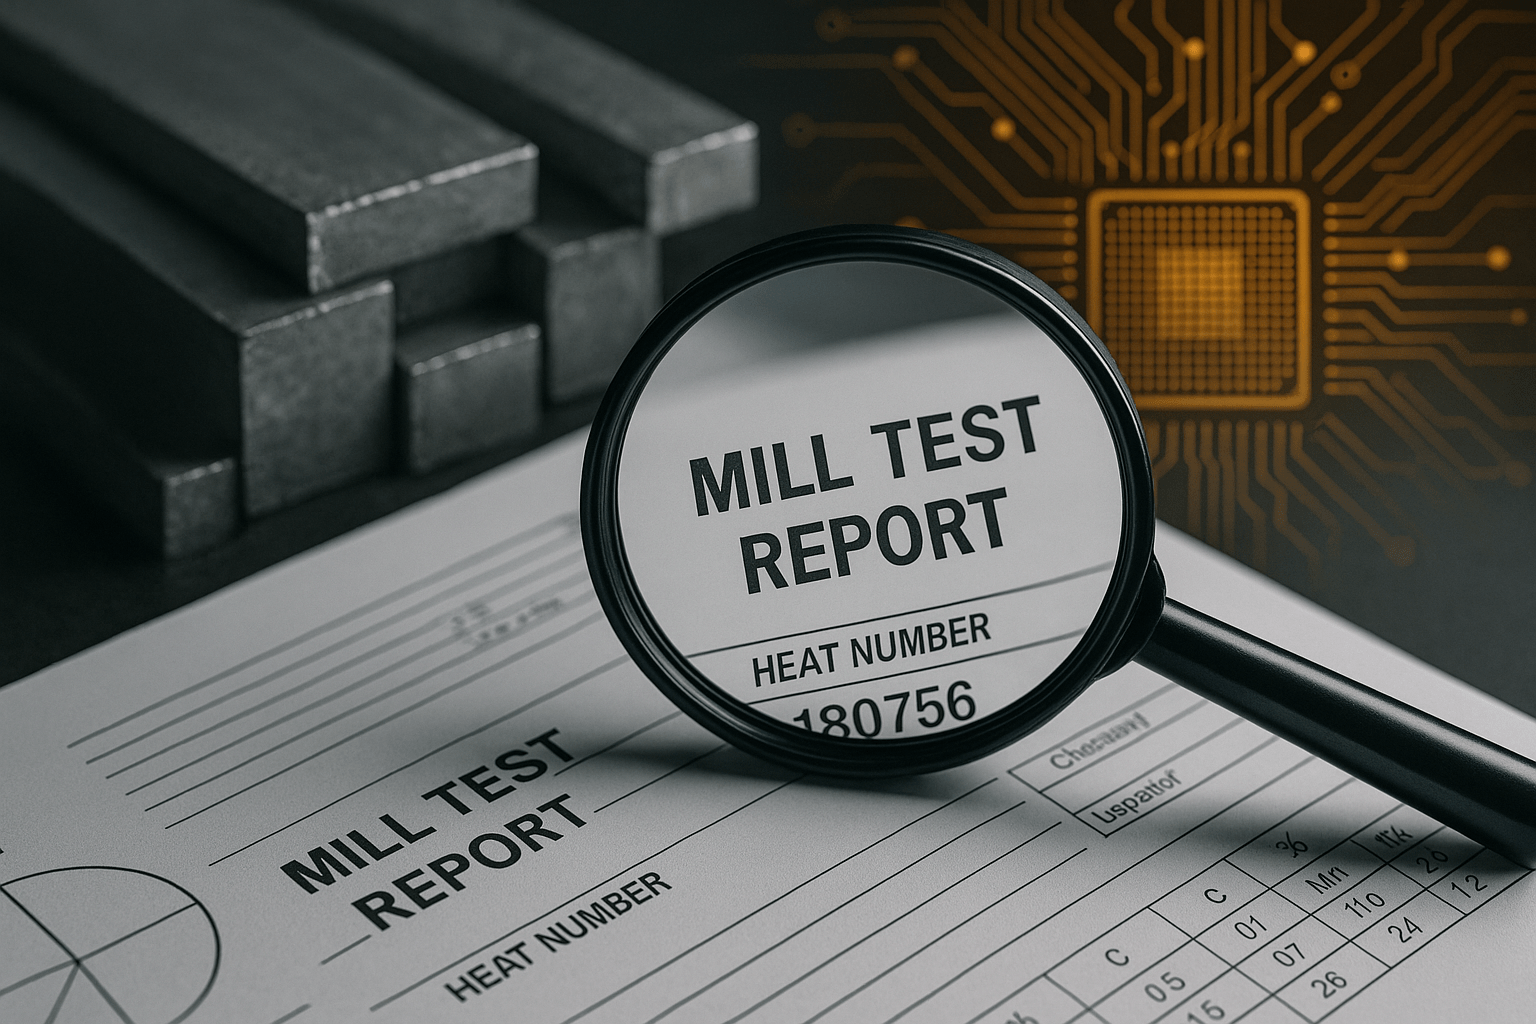
Ensuring that every pressure part and safety component in a power plant has the right certification isn’t just a bureaucratic exercise—it’s a matter of safety, reliability and compliance. EN 10204 is the European standard that governs inspection documents for metallic materials. Understanding the different certificate types, and knowing how to verify them, helps procurement and quality teams avoid counterfeits and meet contractual and regulatory obligations.
What does EN 10204 cover?
EN 10204 classifies inspection documents into four levels. A Type 2.1 declaration is simply a statement of compliance without test results. A Type 2.2 test report includes non-specific test data based on samples from the same grade but not the same batch. A Type 3.1 inspection certificate includes specific tests on the actual batch delivered and is signed by the manufacturer’s QA representative, independent from production. A Type 3.2 inspection certificate goes further by adding verification by either a third-party inspector or the purchaser’s nominated representative.
For critical pressure parts, valves, flanges and piping in combined-cycle plants and substations, 3.1 should be the minimum requirement. For items covered by regulatory requirements or owner‑engineer specifications, a 3.2 certificate may be mandated. Anything less offers no specific test data and therefore no reliable traceability.
Steps for verifying EN 10204 certificates
- Confirm the certificate type. Look for the clearly printed designation (e.g., “Inspection certificate 3.1 to EN 10204”) on the document. If the certificate claims to be EN 10204 but does not specify a type, or if it only provides a generic statement of compliance, it does not meet the requirements.
- Match the heat numbers. The heat number stamped on the material should match the heat number listed on the certificate. Each component should trace back to its furnace batch. If the certificate lists multiple heats but the parts are stamped with only one number, ask the supplier for clarification and additional documentation.
- Check the chemical composition. Compare the chemistry values on the certificate against the specification or code requirements (ASME, ASTM, EN or customer spec). Watch for elements outside their permitted ranges. In high-temperature service, even small deviations in chromium, molybdenum or carbon can significantly reduce creep strength.
- Review mechanical properties. Ensure that tensile strength, yield strength and impact values are reported. For components operating at low temperatures, verify that impact tests have been carried out at the correct temperature and that the results meet the minimum energy criteria.
- Verify the test standards and sampling. A 3.1 or 3.2 certificate should reference specific test standards (e.g., EN ISO 6892–1 for tensile tests, EN ISO 148–1 for impact tests) and indicate the sampling location and orientation. Generic descriptions such as “tests performed according to applicable standards” are insufficient.
- Look for independent signatures. A legitimate 3.1 certificate is signed by the manufacturer’s authorized QA representative, separate from the production team. A 3.2 certificate includes a second signature from an independent inspector or purchaser’s representative. Unsigned or generic certificates are not valid.
Red flags that indicate potential forgeries
Even experienced buyers can be fooled by well‑produced fake certificates. Watch for these warning signs:
- Identical data across multiple certificates. If chemistry and mechanical values are exactly the same for different heats or products, it may indicate copy‑paste rather than actual test results.
- Inconsistent formatting or fonts. A certificate that looks patched together from different sources may have been altered.
- Heat numbers that do not match physical markings. Always cross‑check the number stamped on the component against the certificate.
- Certificate types that change between pages. A document that says “Test report 2.2” on one page and “Inspection certificate 3.1” on another is suspect.
If you see any of these anomalies, request clarification and, if necessary, new documentation or replacement parts. Do not accept verbal assurances; the entire purpose of EN 10204 is to provide written, traceable evidence.
Why verification matters for power plants
In high‑energy applications, failure of a pressure boundary or safety valve can lead to catastrophic damage and long outages. Using materials without verified certificates increases the risk of premature failure, invalidates warranties and can lead to non‑compliance with regulatory bodies. In the worst case, it exposes owners and contractors to legal liability.
By adopting a disciplined process for verifying EN 10204 certificates—checking the certificate type, matching heat numbers, confirming test results and watching for red flags—you reduce these risks and build a culture of quality. If your team lacks the time or expertise to perform these checks, consider engaging an independent compliance consultant who specializes in material certification.
Call to action
If you need assistance reviewing supplier documentation or drafting RFQ language that demands proper certification, I can help. Together we can ensure that every component in your plant has a transparent trail from the furnace to your facility, safeguarding performance and compliance.

